Knowledge Base


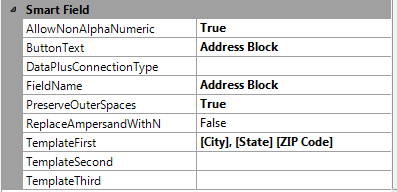
| AllowNonAlphaNumberic | True | PreserveOuterSpaces | True | ReplaceAmpersandWithN | False |
| Field 1 | Field 2 | Field 3 | Custom Field |
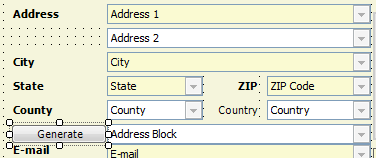
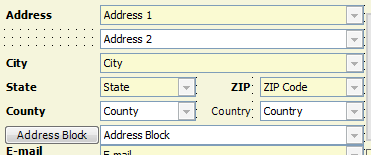
| City | State | ZIP Code | Address Block |
| TemplateFirst | |||
| [City] | [State] | [ZIP Code] | [City], [State] [ZIP Code] |
| San Antonio | TX | 78216 | San Antonio, TX 78216 |
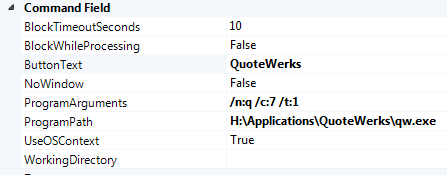
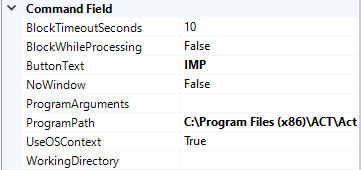
/n:q = opens new quote
/c:7 = retrieve the information into the Sold To, Ship To, and Bill To fields
/t:1 = value of TabNumber to open in QuoteWerks (Document Items)
/u:"Username" /p:"Password"
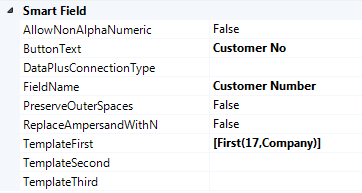
| AllowNonAlphaNumberic | False | PreserveOuterSpaces | False | ReplaceAmpersandWithN | False |
| Properties | Custom Field |
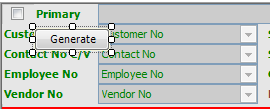
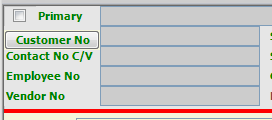
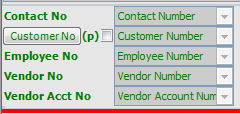
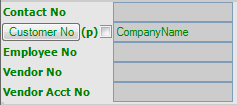
| ButtonText | Customer No |
| TemplateFirst | [First(17,Company)] |
| Result | Companyname |
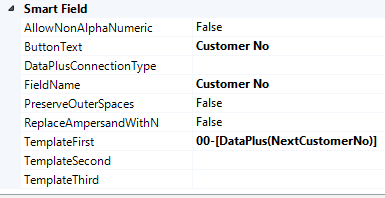
| AllowNonAlphaNumberic | False | PreserveOuterSpaces | False | ReplaceAmpersandWithN | False |
| Properties | Custom Field |
| ButtonText | Customer No |
| TemplateFirst | 00-[DataPlus(NextCustomerNo)] |
| Result | 00-0000001 |