Software Solutions
DataPlus
DataPlus Software
DataPlus Software - ERP / Accounting Integration
DataPlus Software - Custom Integration
DataPlus Software - Addons
DataPlus Software - Plugins & Tools
Hosting Solutions
Quoting
QuoteWerks
QuoteWerks Integration
QuoteWerks Subscription & Licensing
CRM Solutions
ERP Addons
Custom Integration
Addons
Plugins & Tools
Training
Support
Support
Support
Software Support
Support (FixMe.IT)
Support Plans
Training
Software Training
Training
Knowledgebase (KB)
KB Hogan Data / DataPlus
KB Frequent Act Questions
KB Frequent QuoteWerks Questions
Resources
About Us
How Can We Help You
DataPlus Subscription
DataPlus Maintenance
QuoteWerks Maintenance Program
Partner Access
Partner Lead Submission
Payment Solution
Secure Credit Card Authorization
Secure Credit Card Pre-Authorization
Knowledge Base
PROGRAM
: dpFolders - Client Configuration
Table of Contents
Preparing Configuration
What you need prior to configuration
Configuration
Windows Local Folder & File Stucture
dpFolders Manager
Related FAQs
Activation
dpFolders Client Installation
dpFolders Client Configuration
dpFolders Server Configuration
dpFolders Trouble Shooting
What you need prior to configuration?
dpFolders Configuration
dpFolders installed
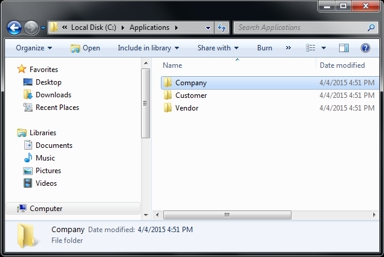
Windows Local Folder & File Stucture
Folder Structure
In desired location on local machine, or network, create folder structure
Sample:
C:\Applications\
Create
Company
This is where your company folders and files will be hosted.
Create
Customer
This is where your customer's folders and files will be hosted.
Create
Vendor
This is where your Vendor's folders and files will be hosted.
When dpFolders profile is configured, you will point the profile to one of the available folders
Within each folder, subfolders will be created based on text and/or Act field parameters
dpFolders Manager
dpFolders Manager
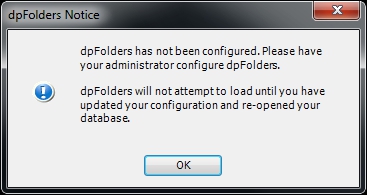
Open Sage Act
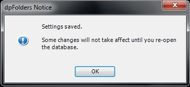
dpFolders Notice will appear giving you notice that dpFolders has not been configured.
Click
OK
Lock Act Database
- Tools/Database Maintenance
- Lock/Unlock Database...
In Act, go to Tools/DataPlus Plugins/dpFolders Manager
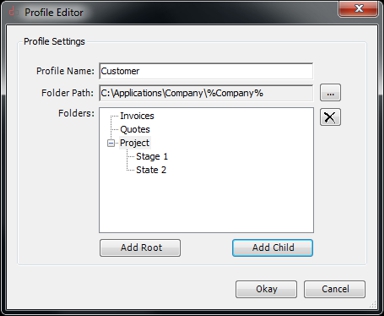
dpFolders Manager
Profile Settings
Profile Name: Enter
Customer
Folder Path: Click
button to establish path
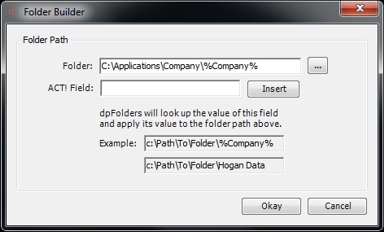
dpFolders Manager
Folder Path
Folder: Click
button to browse to path
Sample:
C:\Applications\Company
ACT! Field: Enter
Company
this is the exact field that dpFolders will use the create root folder for profile.
Click
Insert
dpFolders Manager
Folder Path
C:\Applications\Company\ %Company%
You can use multiple fields and text to configure folder name
Sample:
C:\Applications\Company\ %Customer Number%-%Company%
Click
Okay
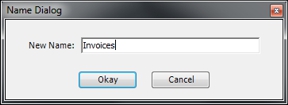
dpFolders Manager
New Name
New Name:
Invoices
creates subfolder
Click
Okay
dpFolders Manager
Profile Settings
Repeat to create additional folders, Quotes, Project
Click
Project
Click
Add Child
New Name:
Stage 1
Repeat
New Name:
Stage 2
Click
Okay
dpFolders Manager
Profile
Repeat to create additional profiles, Vendor, Company
Click on
Create dpFoldersPofileField
dpFolders Manager
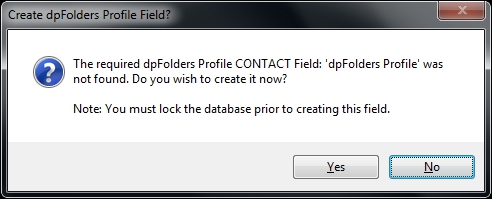
dpFolders Profile Fields
Click
Yes
to create CONTACT field 'dpFolders Profile'
Wait for next dialog box
dpFolders Manager
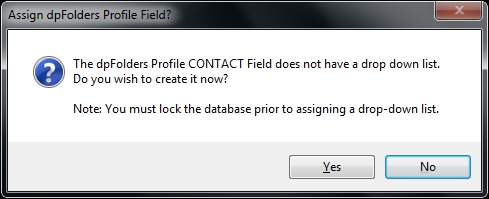
dpFolders Profile Fields
Click
Yes
to create drop down list for CONTACT field 'dpFolders Profile'
Wait for next dialog box
dpFolders Manager
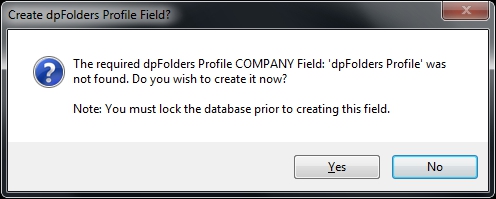
dpFolders Profile Fields
Click
Yes
to create drop down list for CONTACT field 'dpFolders Profile'
Wait for next dialog box
dpFolders Manager
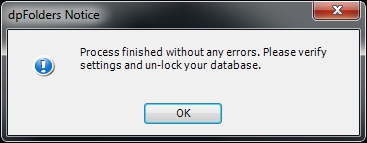
dpFolders Profile Fields
Click
OK
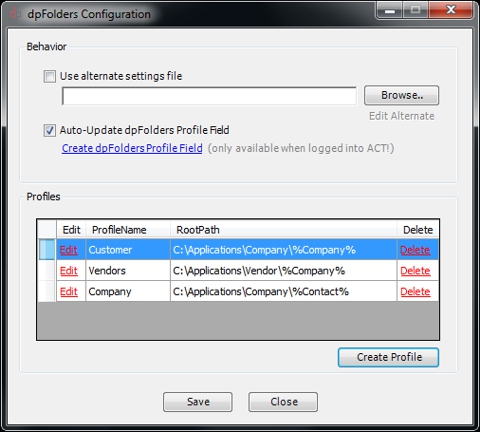
dpFolders Manager
dpFolders Configuration
Click
Save
Click
Ok
Click
Close
Related FAQs
Activation
dpFolders Client Installation
dpFolders Client Configuration
dpFolders Server Configuration
Software Solutions
DataPlus Integration
DataPlus ERP Integration
DataPlus Custom Integration
DataPlus Addons
DataPlus Plugins & Tools
Hosting Solutions
QuoteWerks Quoting Solutions
QuoteWerks Integration
QuoteWerks Subscription & Licensing
CRM Solutions
ERP Integration
Custom Integration
Addons
Plugins & Tools
Training
Support
Learning - Support
Software Support
Support (GoToAssist)
Support Plans
Software Training
Training
KB Hogan Data / DataPlus
KB QuoteWerks Questions
Contact Us
About Us
How Can We Help You
Privacy Policy
Return Policy
Resources
DataPlus Subscription
DataPlus Maintenance
QuoteWerks Maintenance
Partner Lead Submission
Secure CC Authorization
Secure CC Pre-Authorization
Translate this page:
©1995 - 2019 HOGAN DATA | All rights reserved

 button to establish path
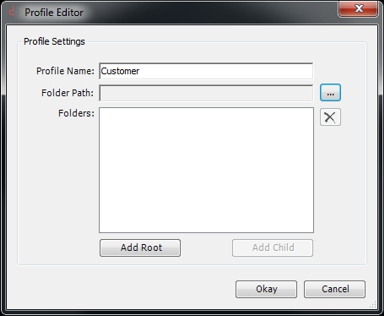 button to browse to path