Knowledge Base


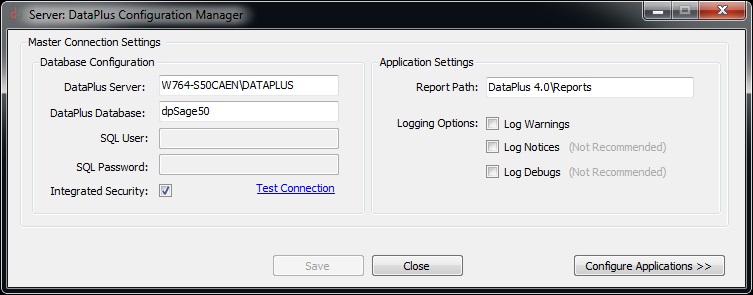
Integrated Security
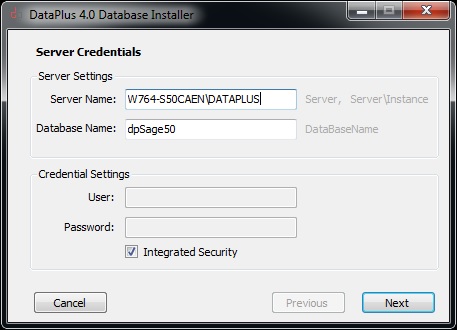

Windows Authentication
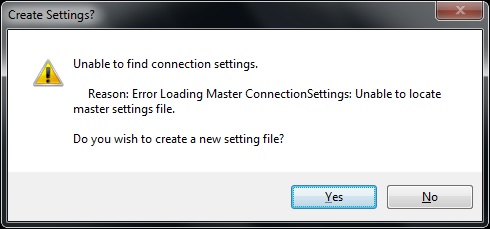
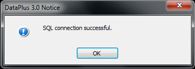
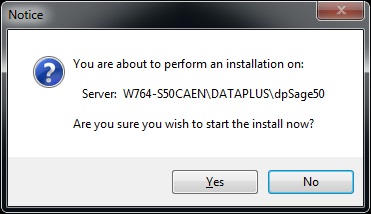
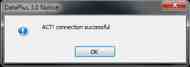
Testing Connection
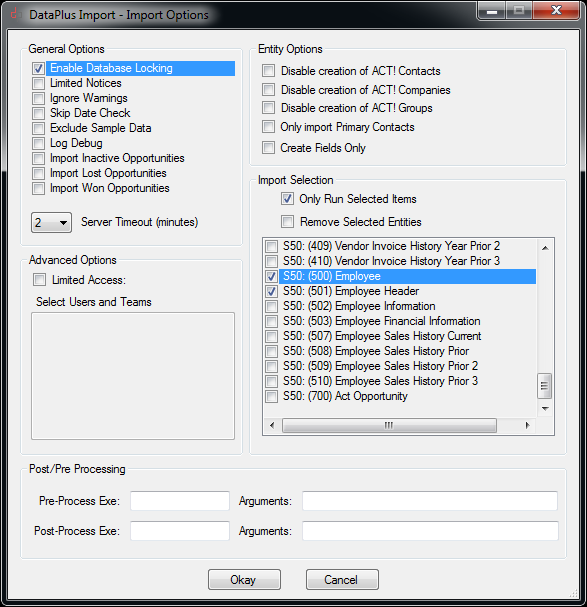
If you are using your own custom Act! database, the custom fields should be created.
In the Act Import process, DataPlus can create the custom fields.

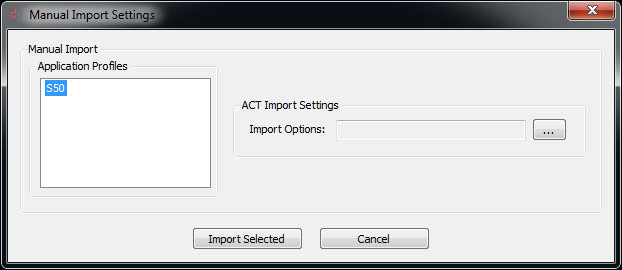
The purpose of importing employees only is to establish your connection to "Act Users"

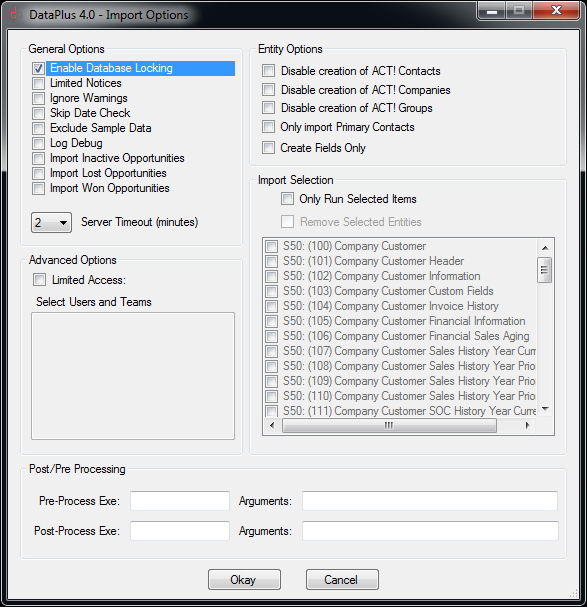
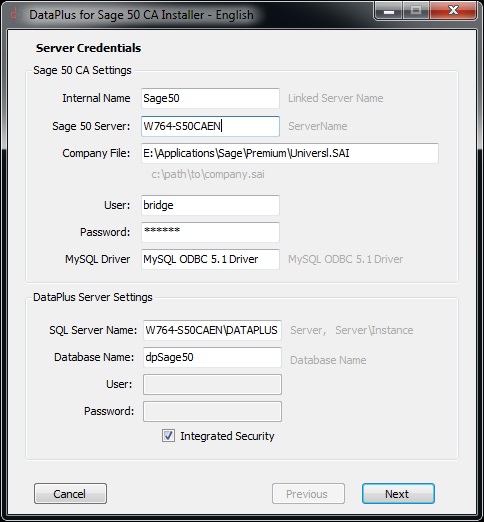
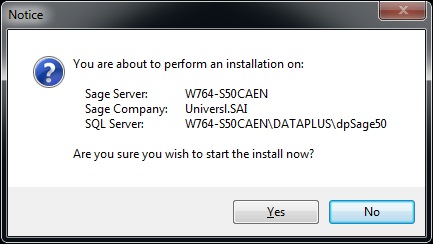
Company Settings
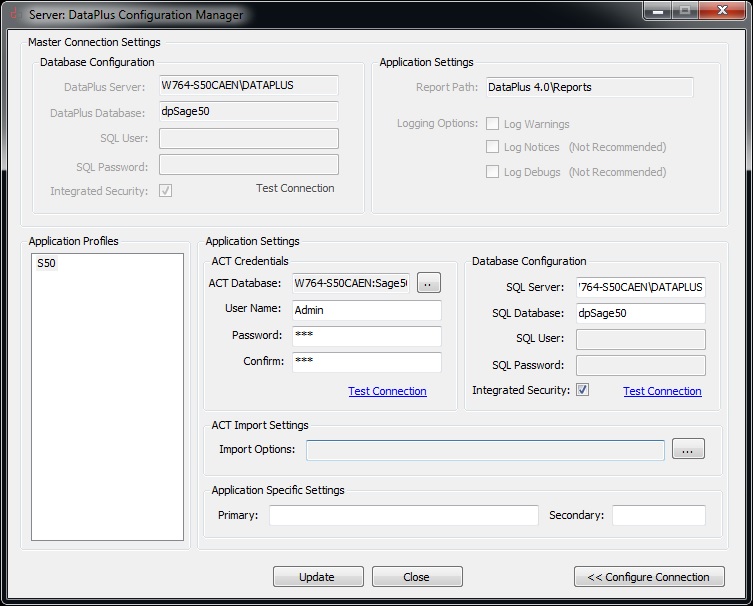
Server
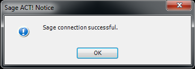
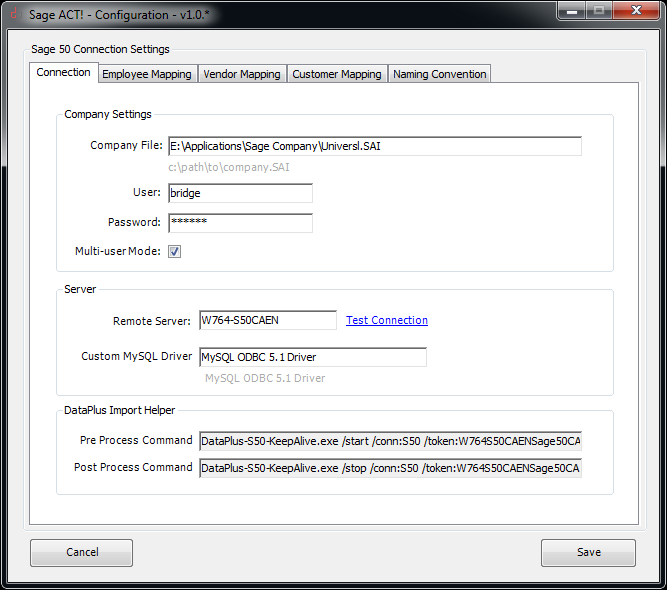
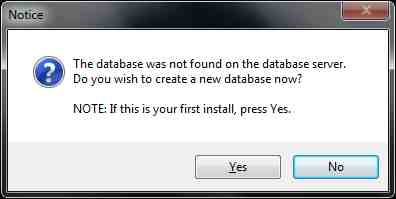
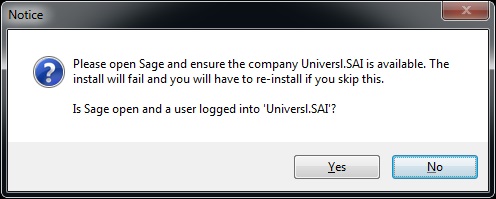
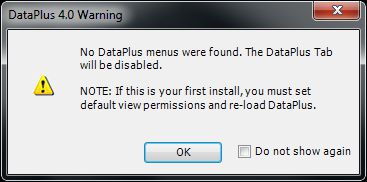
IMPORTANT: If "Test Connection" fails
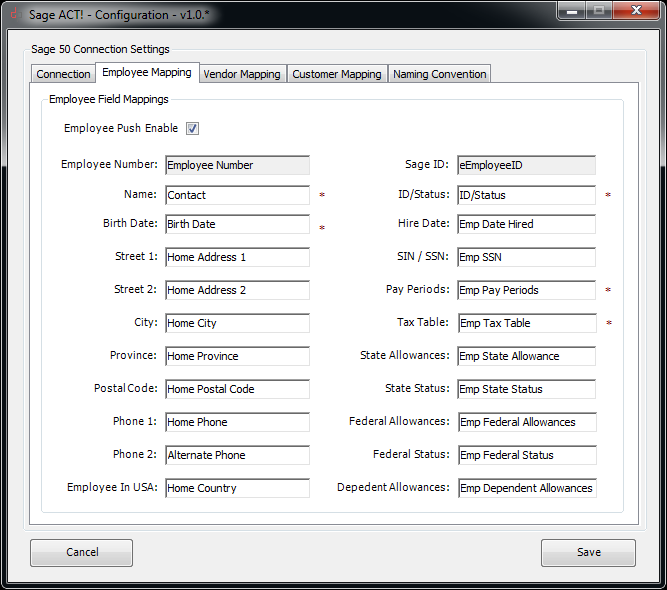
Employee Field Mapping
You should not have to make any changes below.
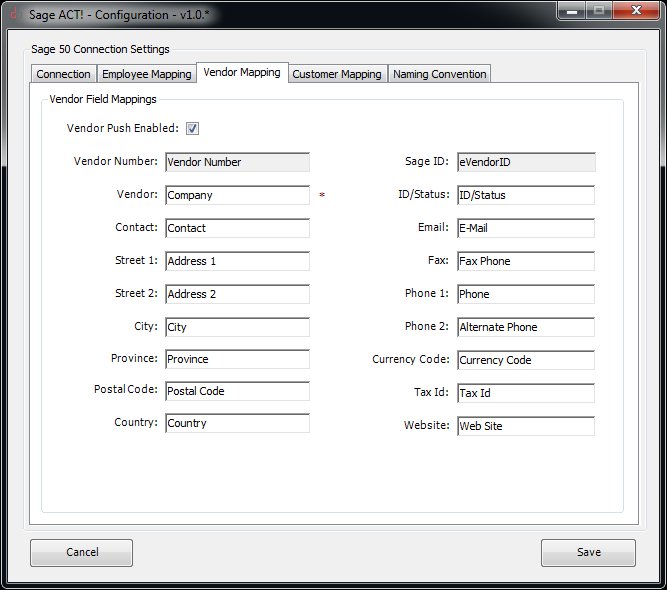
Vendor Field Mapping
You should not have to make any changes below.
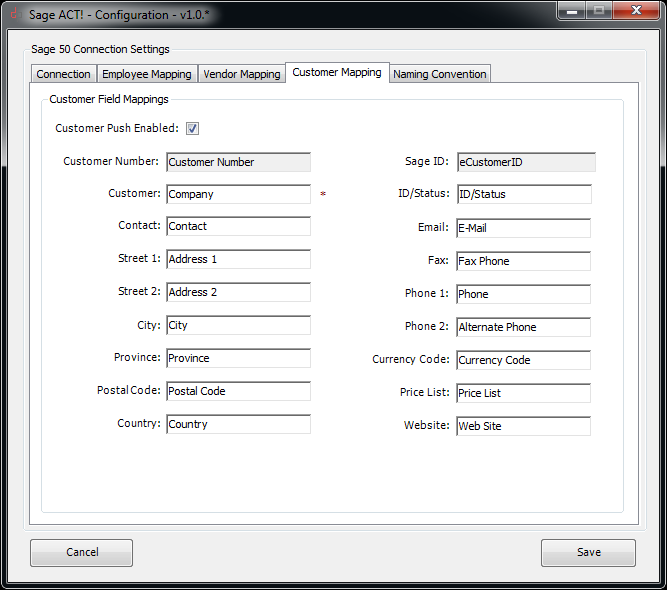
Customer Field Mapping
You should not have to make any changes below.
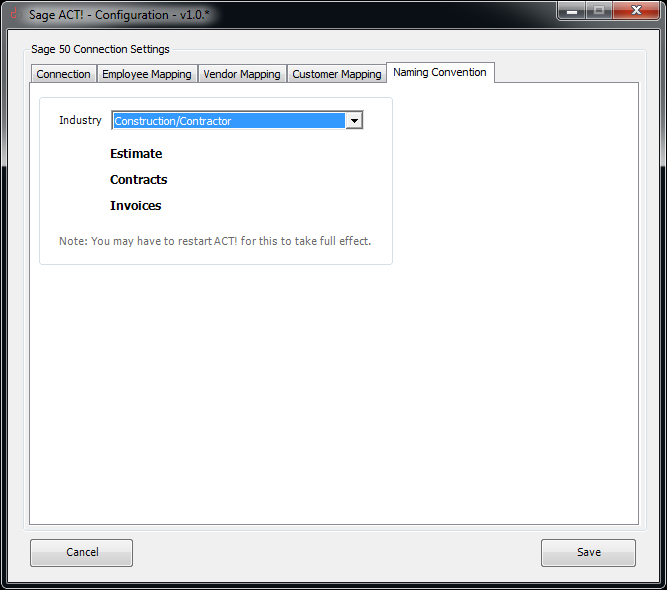
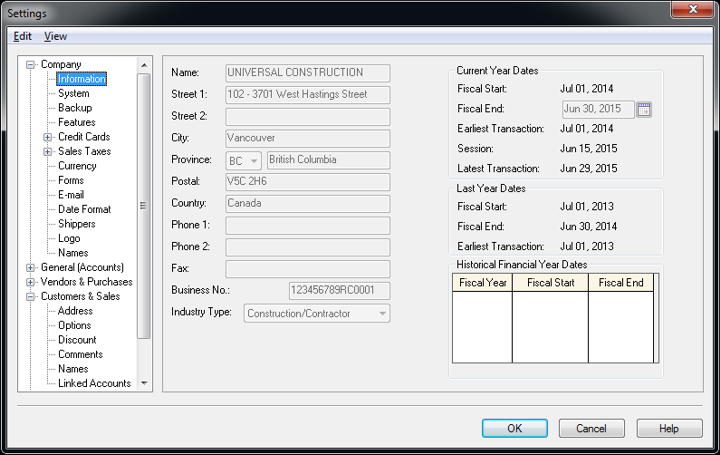
Industry Type
Type of transaction will change based on "Industry Type"