Software Knowledge Base
Scenarios can be tested in your environment after installation.


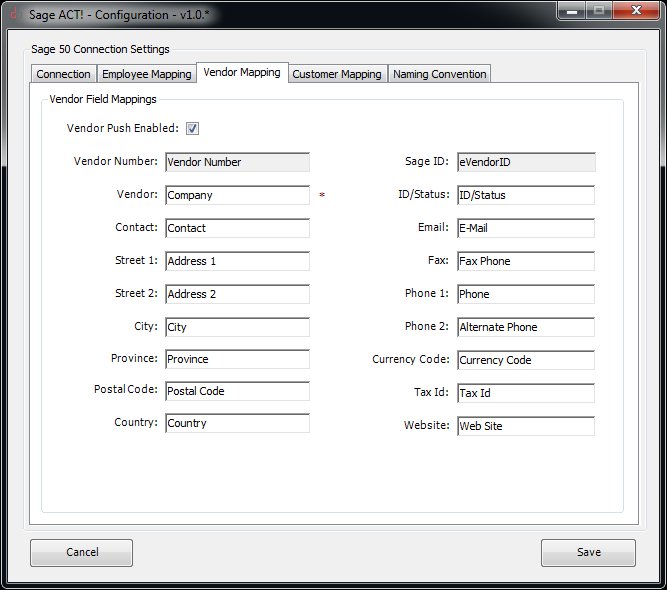
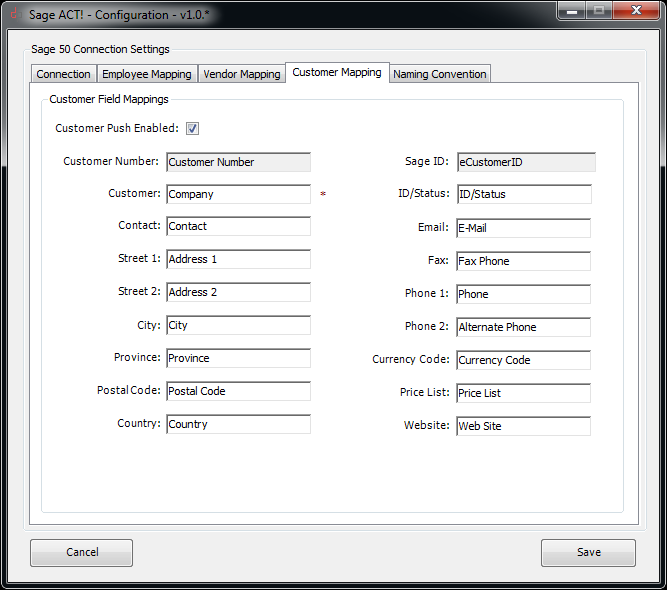
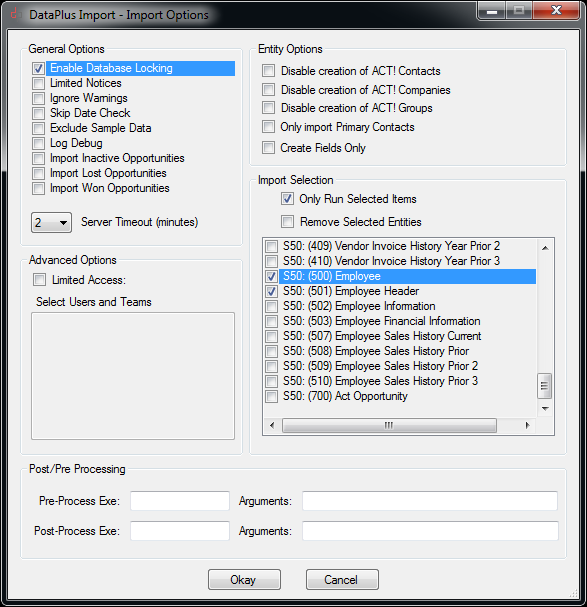
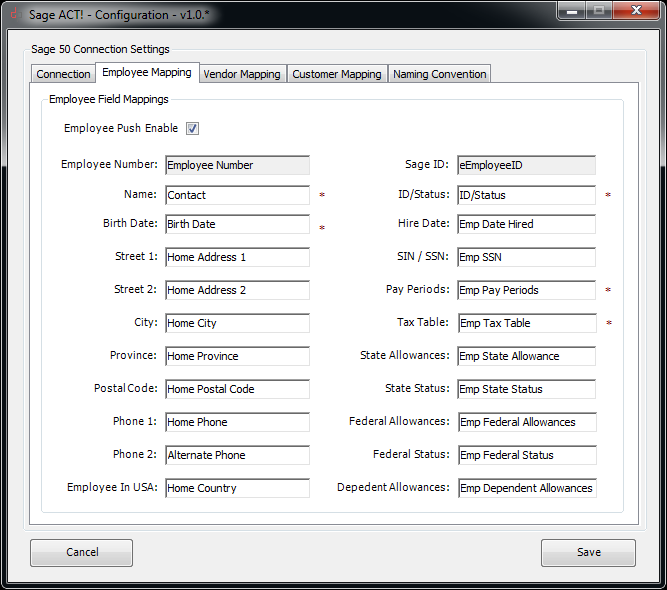
If you are using your own custom Act! database, the custom fields should be created.
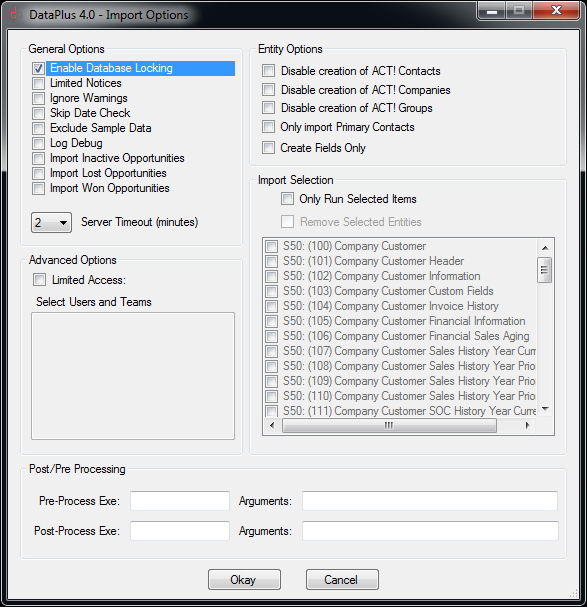
In the Act Import process, DataPlus can create the custom fields.

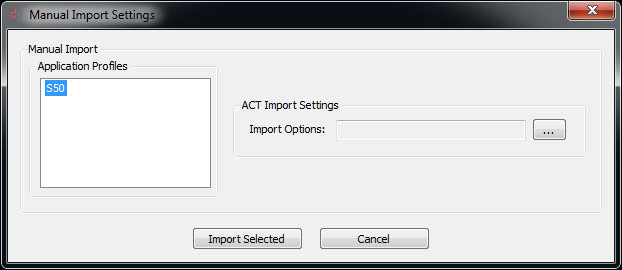
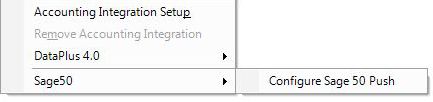
The purpose of importing employees only is to establish your connection to "Act Users"
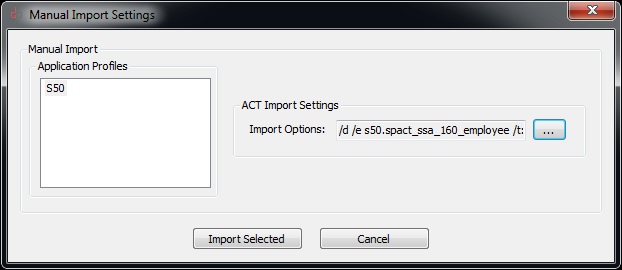

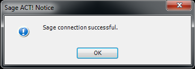
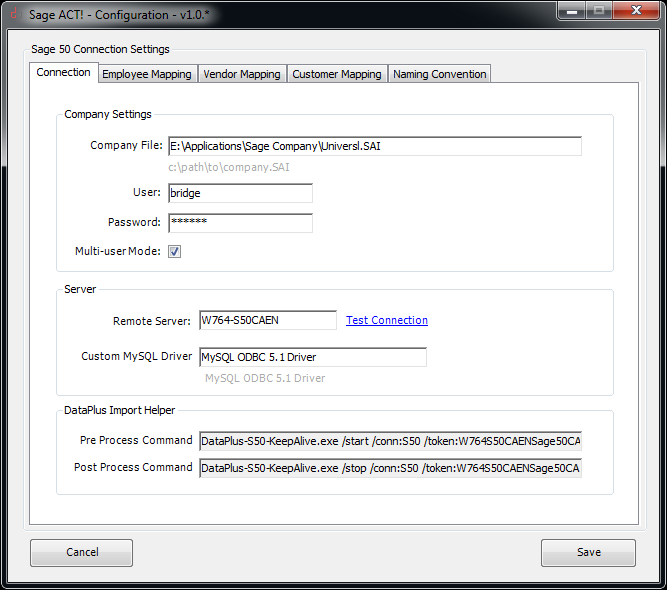
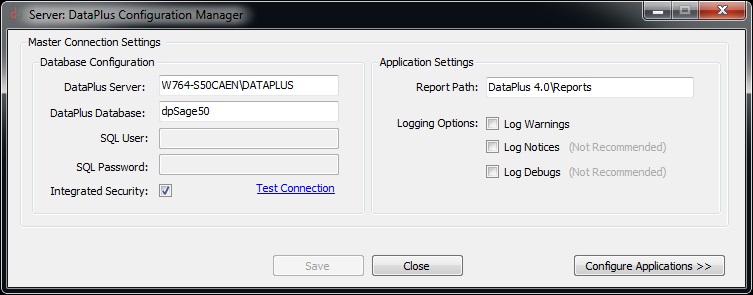
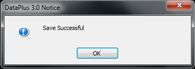
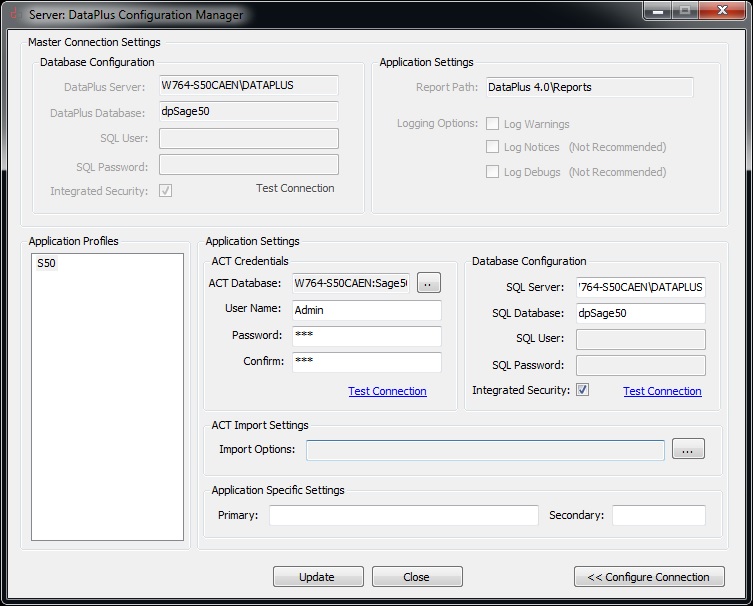
IMPORTANT: If "Test Connection" fails
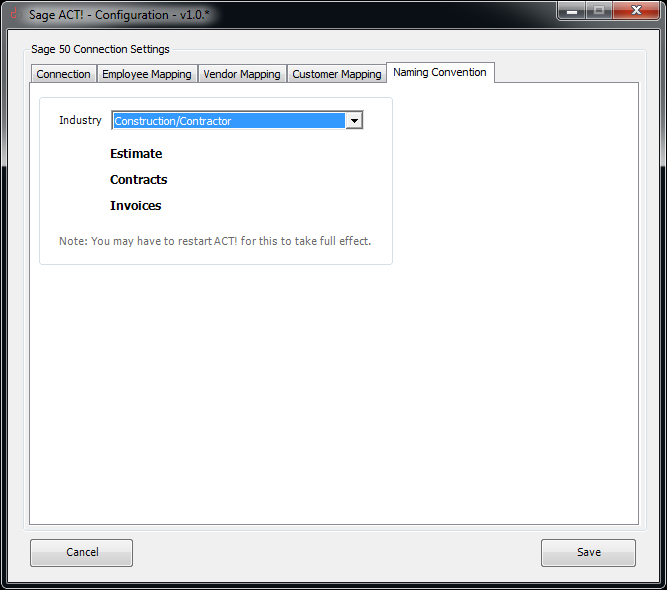
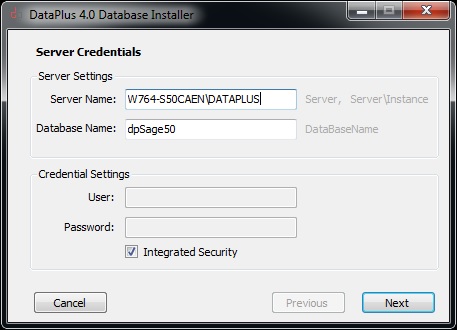
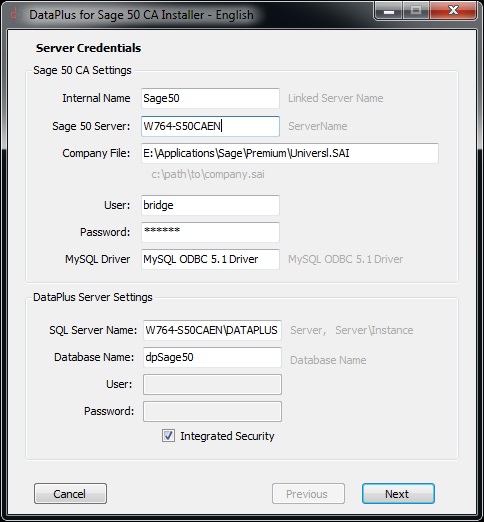
You should not have to make any changes below.