Software Solutions
DataPlus
DataPlus Software
DataPlus Software - ERP / Accounting Integration
DataPlus Software - Custom Integration
DataPlus Software - Addons
DataPlus Software - Plugins & Tools
Hosting Solutions
Quoting
QuoteWerks
QuoteWerks Integration
QuoteWerks Subscription & Licensing
CRM Solutions
ERP Addons
Custom Integration
Addons
Plugins & Tools
Training
Support
Support
Support
Software Support
Support (FixMe.IT)
Support Plans
Training
Software Training
Training
Knowledgebase (KB)
KB Hogan Data / DataPlus
KB Frequent Act Questions
KB Frequent QuoteWerks Questions
Resources
About Us
How Can We Help You
DataPlus Subscription
DataPlus Maintenance
QuoteWerks Maintenance Program
Partner Access
Partner Lead Submission
Payment Solution
Secure Credit Card Authorization
Secure Credit Card Pre-Authorization
Knowledge Base
PROGRAM
: Core Technologies - AlwaysUp - Server Installation
Table of Contents
Server Installation
What you need prior to installation
What you need for installation
AlwaysUp Installation
Server Applications Configuration
AlwaysUp Server Applications
AlwaysUp Web Site Links
Server Applications Configuration
AlwaysUp Web Service Installation
AlwaysUp Web Service Configurations
Related FAQs
Activation
Server Installation
Client Installation
Act Database Configuration
Push Configuration
Push Contact
Push Opportunity
Update Installation
Always Up
Messages or Errors
What you need prior to installation?
DataPlus 4.0 Sage 50 US installed
DataMirror installed
Sage 50 US installed
What you need for installation.
Core Technologies - AlwaysUp
FILE: AlwaysUp_Installer.exe
Core Technologies - AlwaysUp - Server Installation
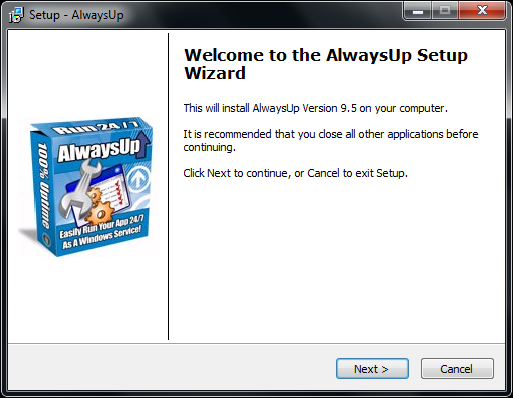
Setup - AlwaysUp
Welcome Screen
Right click on
AlwaysUp_Installer.exe
Run as Administrator
Click on
Next >
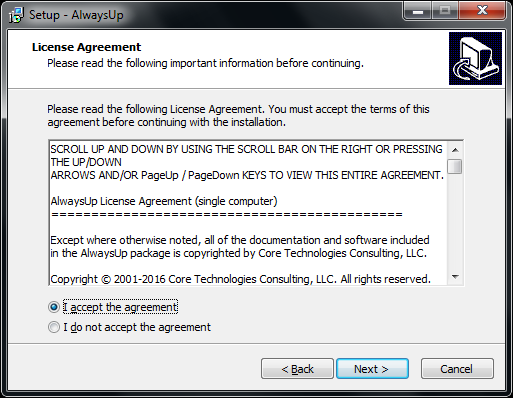
Setup - AlwaysUp
License Agreement
If you agree,
click
"I accept the agreement"
Click on
Next >
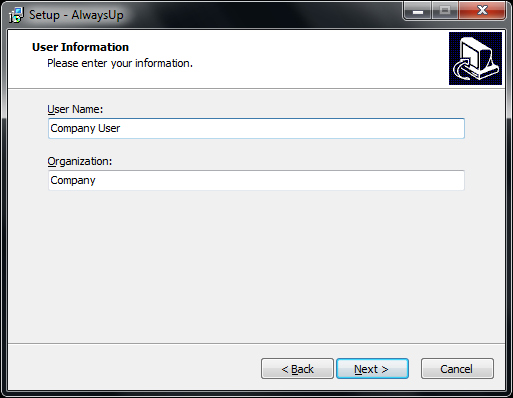
Setup - AlwaysUp
User Information
User Name:
User Name
Optional
Organization:
Company
Optional
Click on
Next >
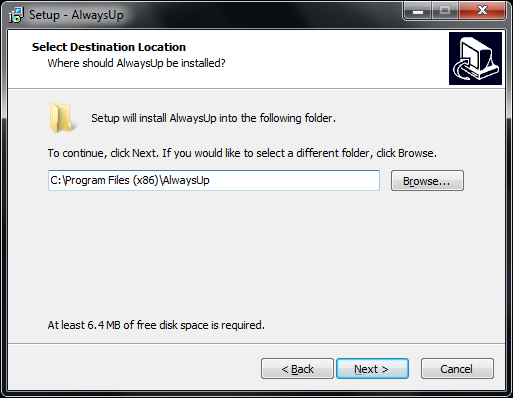
Setup - AlwaysUp
Select Destination Location
Browse
to the preferred location
Click on
Next >
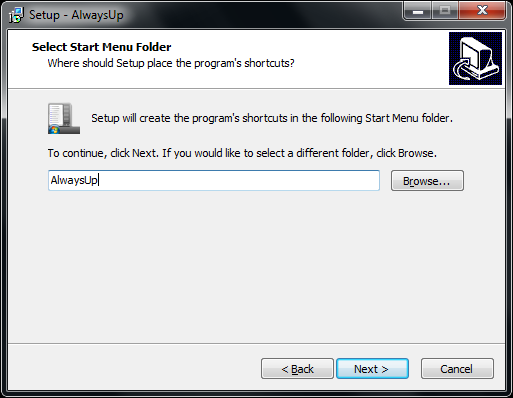
Setup - AlwaysUp
Select Start Menu Folder
AlwaysUp
default
Or
Browse
to the preferred folder
Click on
Next >
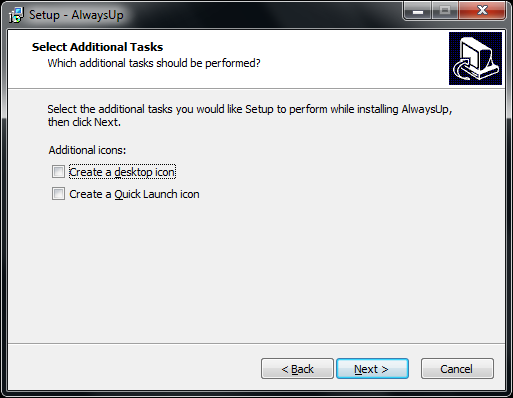
Setup - AlwaysUp
Select Additional Tasks
Check
Create a desktop icon (optional)
Check
Create a Quick Launch icon (optional)
Click on
Next >
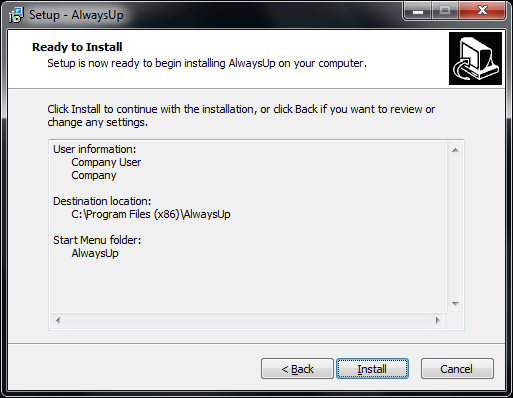
Setup - AlwaysUp
Ready to Install
Click on
Install
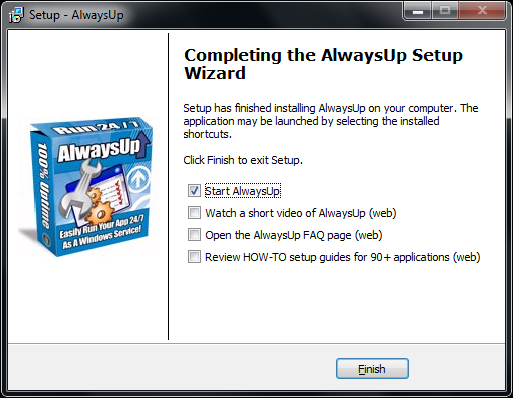
Setup - AlwaysUp
Completing AlwaysUp Wizard
Options
Check
Start AlwaysUp
Check
Watch a short video of AlwasyUp (web) (optional)
Check
Open the AlwaysUp FAQ page (web) (optional)
Check
Review HOW-TO setup guides ofr 90 + applications (web) (optional)
Click on
Finish
Core Technologies - AlwaysUp - Server Applications
Add Applications
Applications
Click on
Add Applications
General
Click on
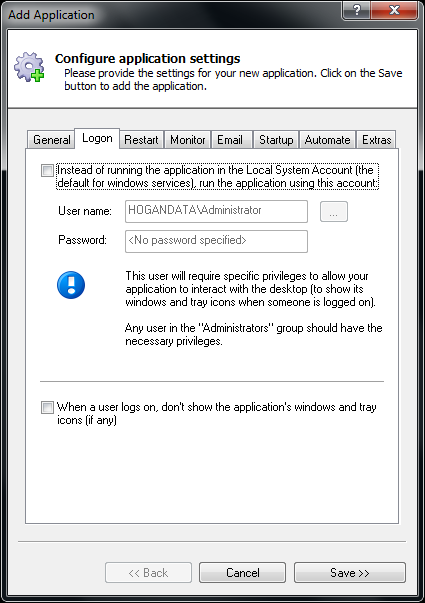
Add Applications
Logon
Enter data
(optional)
Click on
Restart
Tab
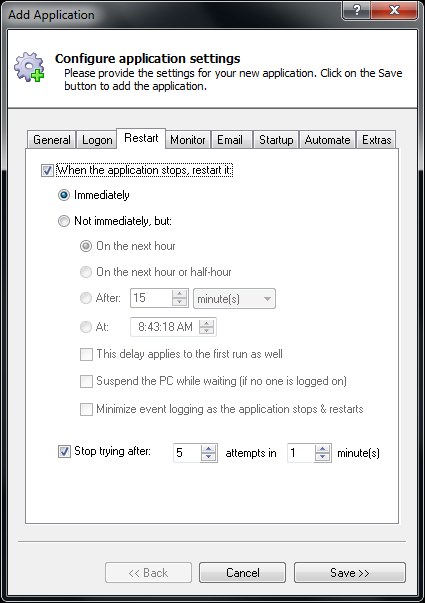
Add Applications
Restart
Enter data
(optional)
Click on
Monitor
Tab
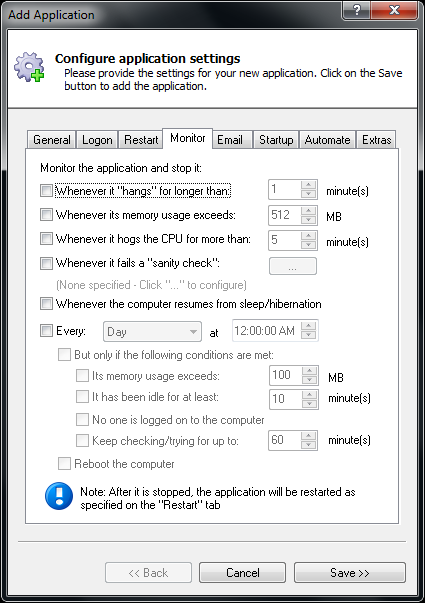
Add Applications
Monitor
Enter data
(optional)
Click on
Email
Tab
Add Applications
Monitor
Enter data
(optional)
Click on
Email
Tab
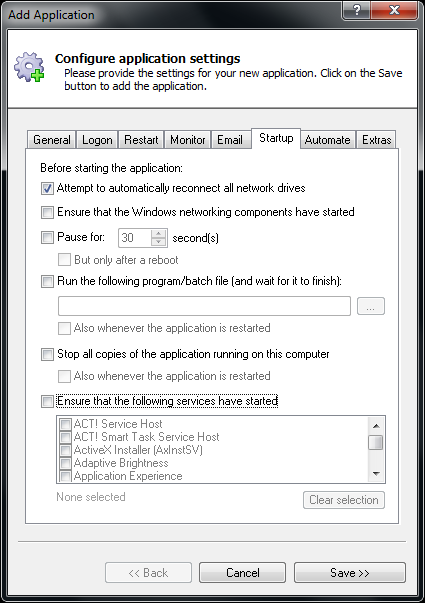
Add Applications
Startup
Enter data
(optional)
Click on
Automate
Tab
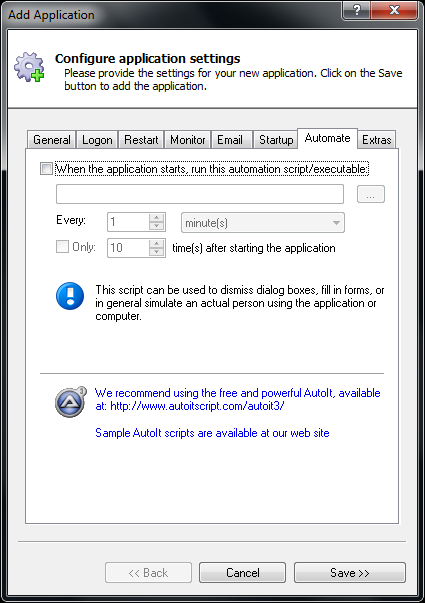
Add Applications
Automate
Enter data
(optional)
Click on
Extras
Tab
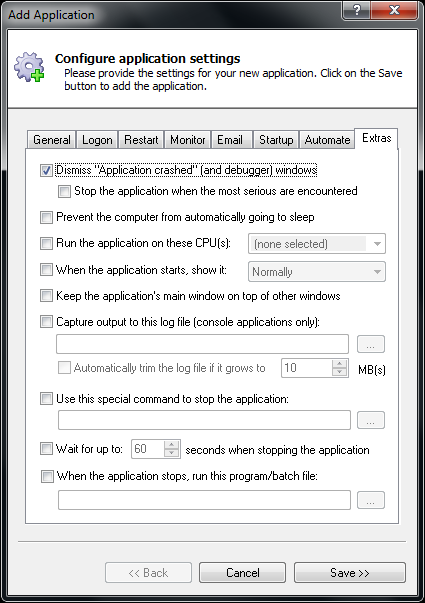
Add Applications
Extras
Enter data
(optional)
Click
Save >>
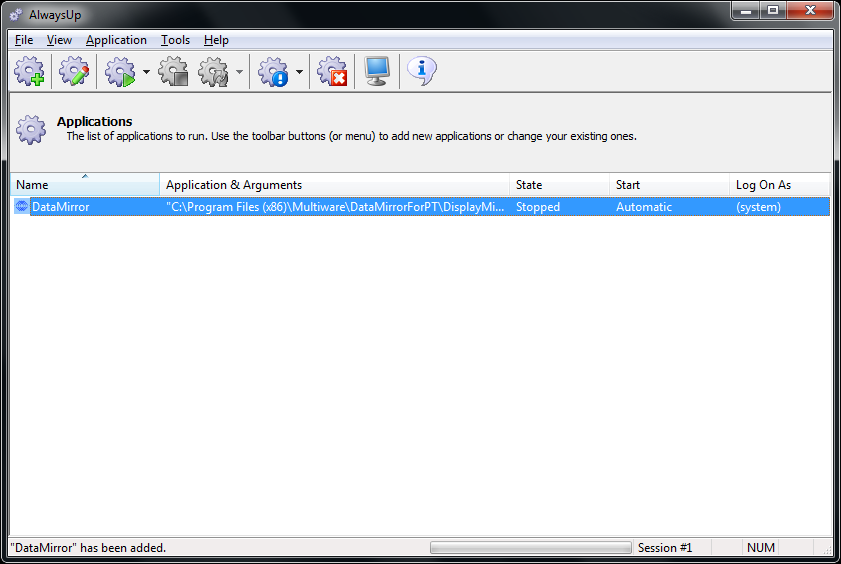
Add Applications
Applications
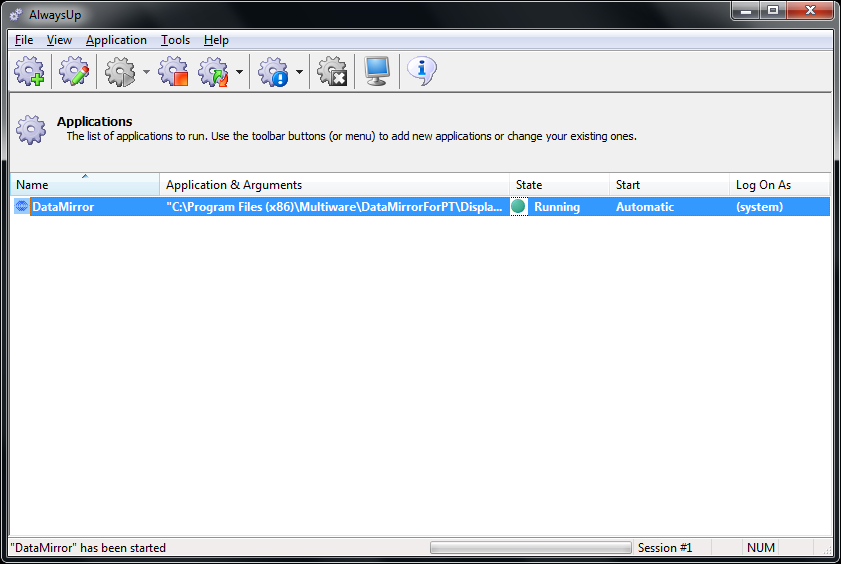
Click on
to start AlwaysUp
Add Applications
Applications
Exit Application
Add Applications
AlwaysUp Web Site Links
Home
Core Technologies - AlwaysUp
Screenshots
Key Features
User's Manual (PDF)
Videos
FAQ
90+ How-to Tutorials
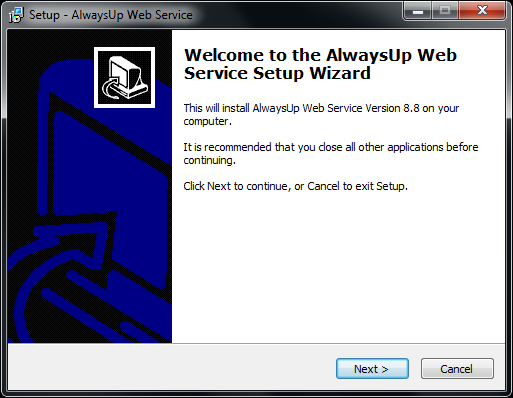
Core Technologies - AlwaysUp - Web Service Installation
Setup Web Services
Welcome Screen
Right click on
AlwaysUpWebService_Installer.exe
Run as Administrator
Click on
Next >
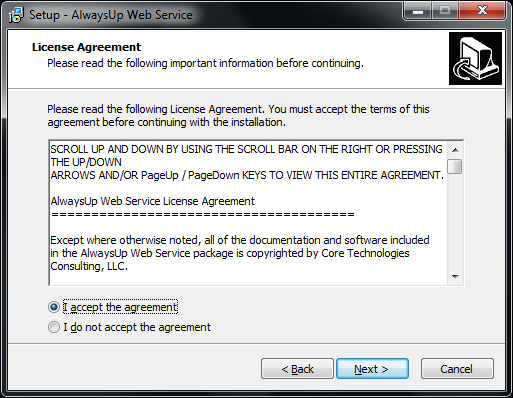
Setup Web Services
License Agreement
If you agree,
click
"I accept the agreement"
Click on
Next >
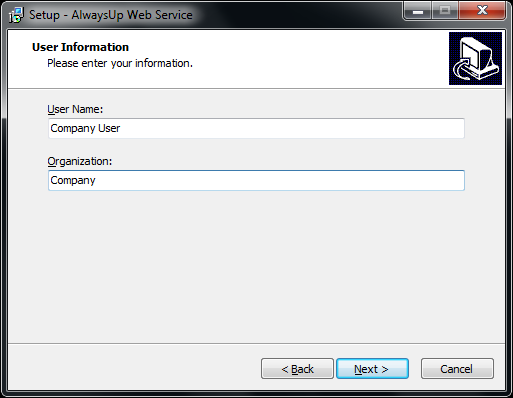
Setup Web Services
User Information
User Name:
User Name
Optional
Organization:
Company
Optional
Click on
Next >
Setup Web Services
Select Destination Location
Browse
to the preferred location
Click on
Next >
Setup Web Services
Select Start Menu Folder
AlwaysUp
default
Or
Browse
to the preferred folder
Click on
Next >
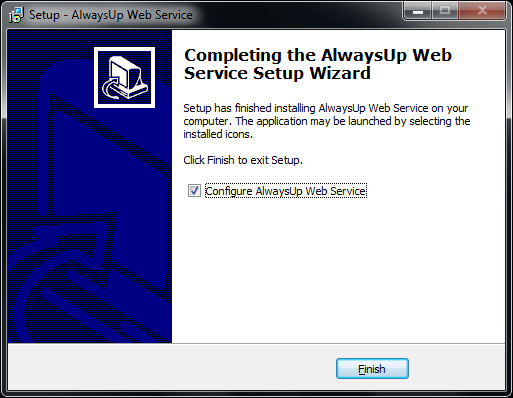
Setup Web Services
Completing
Check
Configure AlwaysUp Web Service
Click on
Finish
Core Technologies - AlwaysUp - Web Service Configuration
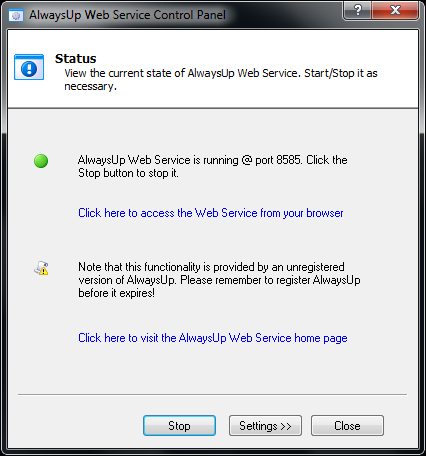
Web Service Control Panel
Status
Click on
Settings >>
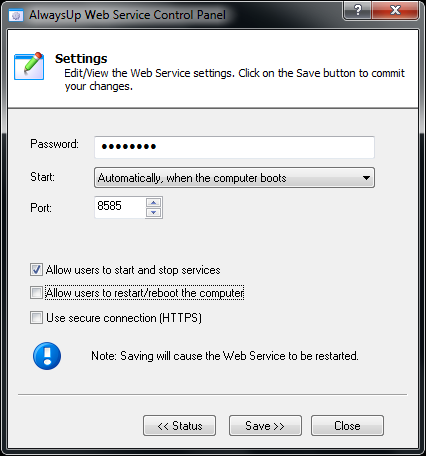
Web Service Control Panel
Settings
Password:
password
Start:
Automatically, when the computer boots
Port:
8585
Check
Allow users to start and stop services
UnCheck
Allow users to restart/reboot the computer
UnCheck
Unless you have SSL certificate
Click on
<< Status
Web Service Control Panel
Status
Click on
Click here to access the Web Service from your browser
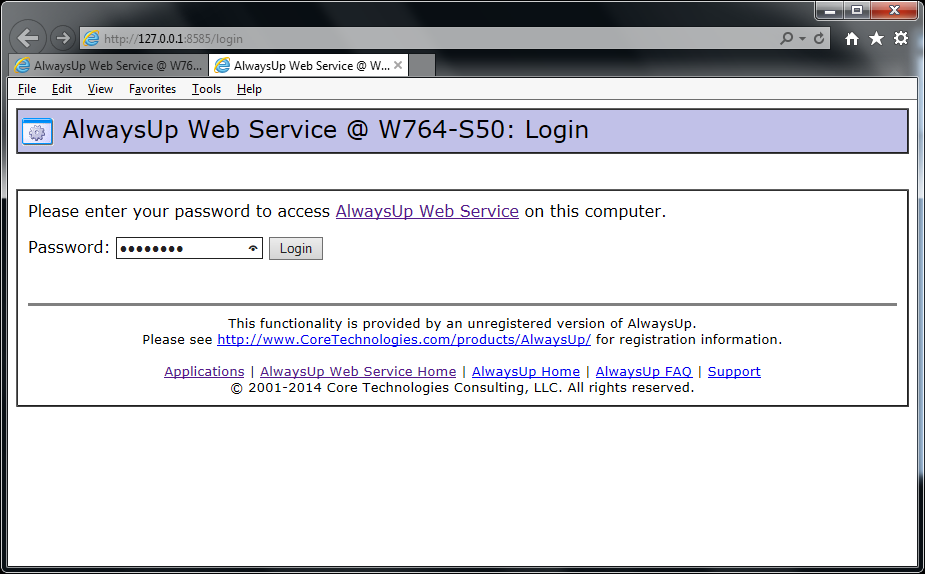
Web Service Control Panel
Web Service Login
Password:
password
Click on
Login
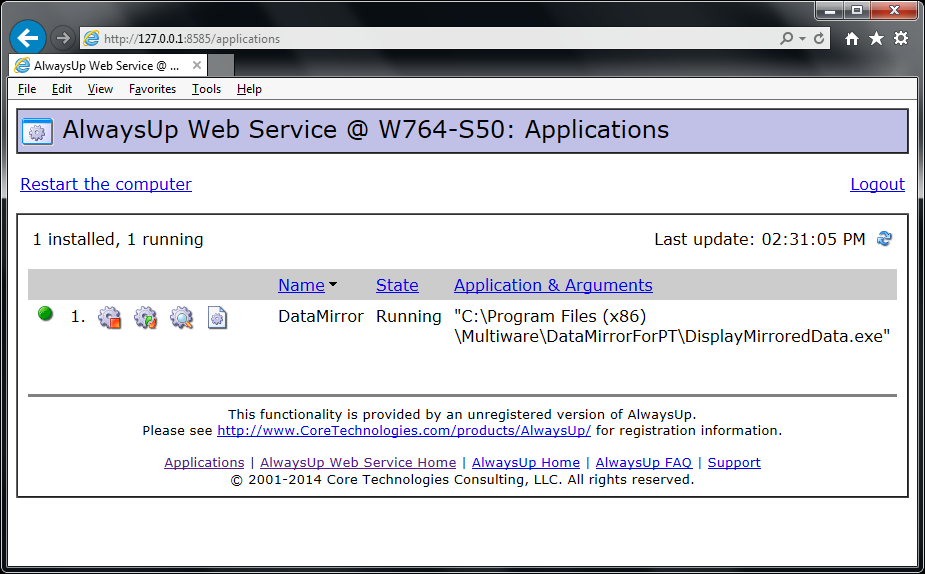
Web Service Control Panel
Web Service
Use menu to perform tasks
When completed click on
Logout
Related FAQs
Activation
Server Installation
Client Installation
Act Database Configuration
Push Configuration
Push Contact
Push Opportunity
Update Installation
Always Up
Messages or Errors
Software Solutions
DataPlus Integration
DataPlus ERP Integration
DataPlus Custom Integration
DataPlus Addons
DataPlus Plugins & Tools
Hosting Solutions
QuoteWerks Quoting Solutions
QuoteWerks Integration
QuoteWerks Subscription & Licensing
CRM Solutions
ERP Integration
Custom Integration
Addons
Plugins & Tools
Training
Support
Learning - Support
Software Support
Support (GoToAssist)
Support Plans
Software Training
Training
KB Hogan Data / DataPlus
KB QuoteWerks Questions
Contact Us
About Us
How Can We Help You
Privacy Policy
Return Policy
Resources
DataPlus Subscription
DataPlus Maintenance
QuoteWerks Maintenance
Partner Lead Submission
Secure CC Authorization
Secure CC Pre-Authorization
Translate this page:
©1995 - 2019 HOGAN DATA | All rights reserved